This is a simple installation script written in bash by the developer MatMoul 2. It allows you to install Arch by selecting various options and packages instead of running commands.
Installing Arch Linux is an effort especially if you’re new to the whole process. If you don’t feel like jumping back and forth between the Arch wiki and spending hours just to not have a system that boots this guide is for you. I would still recommend running through the official ArchWiki and learning the proper installation process. Doing this will help you understand what archfi is doing in the background.
What is archfi? archfi is a simple installation script written in bash by the developer MatMoul 2. This will allow you to install Arch by selecting various options and packages instead of needing to run commands. The only commands you will need to run will be to download and launch this install script.
NOTICE: We will format our SSD/HDD and USB drive to do this. Following this guide may result in data loss if you do not properly back up or create snapshots. If you’re running Linux I recommend taking a look at this Timeshift tutorial.
Booting into Arch Linux and Launch archfi
Time needed: 20 minutes.
First we need to get the standard Arch Linux disk image, flash it onto to a USB drive, and boot in. Follow the steps below to get into the Arch installation medium.
- Download Arch: Go to the Arch Linux download page and download the latest .iso file.
- Flash Image to USB: The Arch image you just downloaded is about 700 MB, so you’ll need a USB with at least 1 GB of space. Also, note anything on the USB will be erased when you flash Arch over. Next, let’s get the software. I recommend Rufus if you’re on Windows, Popsicle if you’re running Linux, or you can use Etcher. The applications themselves are fairly easy to follow, so go through the motions in the software and flash the image.
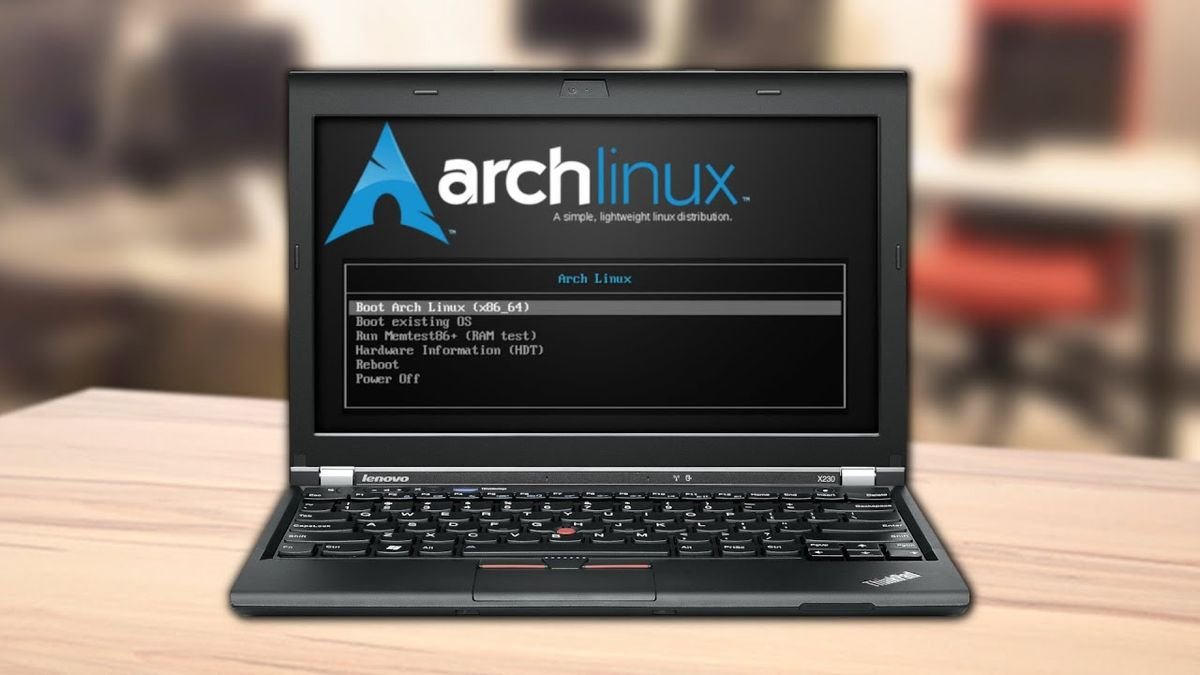
- Booting to the Arch Installation: Now that the USB is ready, we can go ahead and boot it in. Please refer to the notice above before moving forward. Plug the device into your computer and power it on your computer. You’ll need to (quickly) press a key to get into your boot menu during the POST screen. Common keys are DEL, F2, F10-12, and escape. It should flash the button you need to press during the post screen. If you’re having issues, look up your motherboard model to find the hotkeys. In your boot menu, select the bootable USB drive.
- Download and Launch the Installer Now that you are booted into your Arch installation, we will run the commands to download and launch the script.
curl -L matmoul.github.io/archfi > archfish archfi
Using archfi to install Arch Linux
When the installation script is launched, we will see the main menu with all all the major installation steps. Now, we will run through them all. Moving around these menus is fairly simple: arrow keys to move between options, enter to select, and space to toggle options. First, select the language option and make the right choice for you.
Once you hit enter while your preferred language is selected, the script will take you to the main menu with the next step highlighted. Hit enter and select your keyboard layout. Once you hit enter, the system will display “loadkey… Press any key to continue.” You’ll see this screen a few more times; when you do, just continue past these screens.
Next, we’re going to partition the disk. Select “Disk Partitions.” For this guide, we’re going to select “Auto Partitions (gpt,efi).” For the rest of these steps, follow along with the video. There are timestamps, making navigation through the process easy. If you would like any tips or tricks featured in this article, please comment below.
Dual Booting with Windows (Contributed by Evandro Rodrigues)
- Create an unallocated space partition in Windows;
- Do exactly what he does until partitioning, and where you want to go custom with cfdisk. Here, you want to use the free space from before, create a Linux Swap partition (don’t forget to change the type to Linux Swap), and use the remaining space as a Linux Filesystem. After that, write the changes.
- When going to the part where you have to format the recently created partitions, you MUST cancel formatting when prompted about the Boot partition; the others stay the same;
- Now go normally following his video and when he talks about os-prober make sure to check that otherwise it won’t work;
- At the config part of archdi, where he skips systemd and boot, go to boot configuration and select the second option (grub-mkconfig);
- That’s it, from the archfi script you can enable dual booting, 100% working!
Thanks to Evandro Rodrigues for this (dual booting) contribution!