

If you've been anywhere near the self-hosting or homelab space recently, you've probably seen Kubernetes everywhere. Every other blog post, every other video, someone is telling you that you need Kubernetes in your homelab. And look, I get the appeal. Container orchestration, high availability, automatic failover. These are all great things.
But I'm going to be honest with you. I don't actually run Kubernetes in my homelab, and I don't think most of you need to either.
Kubernetes is designed for managing containers across many machines at massive scale. We're talking companies running hundreds or thousands of containers across dozens of servers. In a homelab, most of us are running maybe 10-30 containers on a single machine. Docker Compose handles that beautifully. If a container goes down, you restart it. If your whole server goes down, you have backups (you do have backups, right?).
The overhead of learning and maintaining Kubernetes for a homelab is real. It adds complexity to every single thing you deploy.
However, and this is the important part, there are legitimate reasons to learn it. It's the industry standard. If you work in DevOps, SRE, or really any infrastructure role, you're going to run into k8s. Your homelab is the cheapest and best place to learn it. No cloud bill, no pressure, just you and some mini PCs.
So today, we're going to set up a real Kubernetes cluster on three physical machines from scratch. We'll get a cluster running, deploy a service across all three nodes, and then pull the power on one of the machines to watch Kubernetes do its thing. Let's dive into it.
The Basics You Need to Know
Before we get into the actual setup, let me give you the shortest possible explanation of what Kubernetes actually is. I'm not going to go super deep here because there are entire courses on this, but you need to know the basics.
Nodes are just your machines. In our case, we have three mini PCs. One is going to be the "server" node (also called the control plane) and two are going to be "agent" nodes (also called workers). The server node is the brain. It decides what runs where. The agent nodes do the actual work.
Pods are the smallest unit in Kubernetes. Think of a pod as a wrapper around one or more containers. Most of the time it's just one container per pod. So if you're running Nginx, that runs inside a pod.
Deployments are how you tell Kubernetes "I want 3 copies of this thing running." Kubernetes figures out which nodes to put them on, and if one dies, it spins up a replacement automatically.
Services are how pods talk to each other and how you access them from outside the cluster. Since pods can move around and get new IPs, a service gives you a stable way to reach them.
That's really all you need to know to get started. The rest you'll pick up as we go.
Why k3s (and Not Full Kubernetes or MicroK8s)
We're not going to install full-blown Kubernetes. We're going to use something called k3s, which is a lightweight Kubernetes distribution made by Rancher, now part of SUSE. It's fully certified by the CNCF, so it's real Kubernetes. Same API, same kubectl commands, same concepts. It just strips out all the cloud provider stuff and heavy components that you don't need outside of a big cloud environment.
k3s bundles everything into a single binary under 100MB. It uses SQLite by default instead of etcd (though you can use etcd if you want), and it comes with a built-in load balancer, ingress controller (Traefik), and local storage provisioner. It installs in seconds, not hours. This is what the vast majority of homelabbers actually use when they run Kubernetes, and it's also what a lot of edge computing and IoT deployments use in production.
Now, some of you might be wondering about MicroK8s, which is another lightweight Kubernetes option. MicroK8s comes from Canonical, the Ubuntu folks, and it's distributed as a snap package. It takes a more modular approach where you enable add-ons individually for things like DNS, storage, ingress, GPU support, and so on. It's a solid option, especially if you're already running Ubuntu everywhere.
The reason I'm going with k3s here is that it's a single curl command on basically any Linux distro. No snap dependency, lower resource usage, and the install is just cleaner to work with. MicroK8s tying itself to snap can be a pain if you're running Debian, Fedora, Arch, or really anything that isn't Ubuntu. Both are fully certified Kubernetes, both are totally valid. But for a homelab where you might have different distros floating around, k3s just makes more sense to me.
What You Need
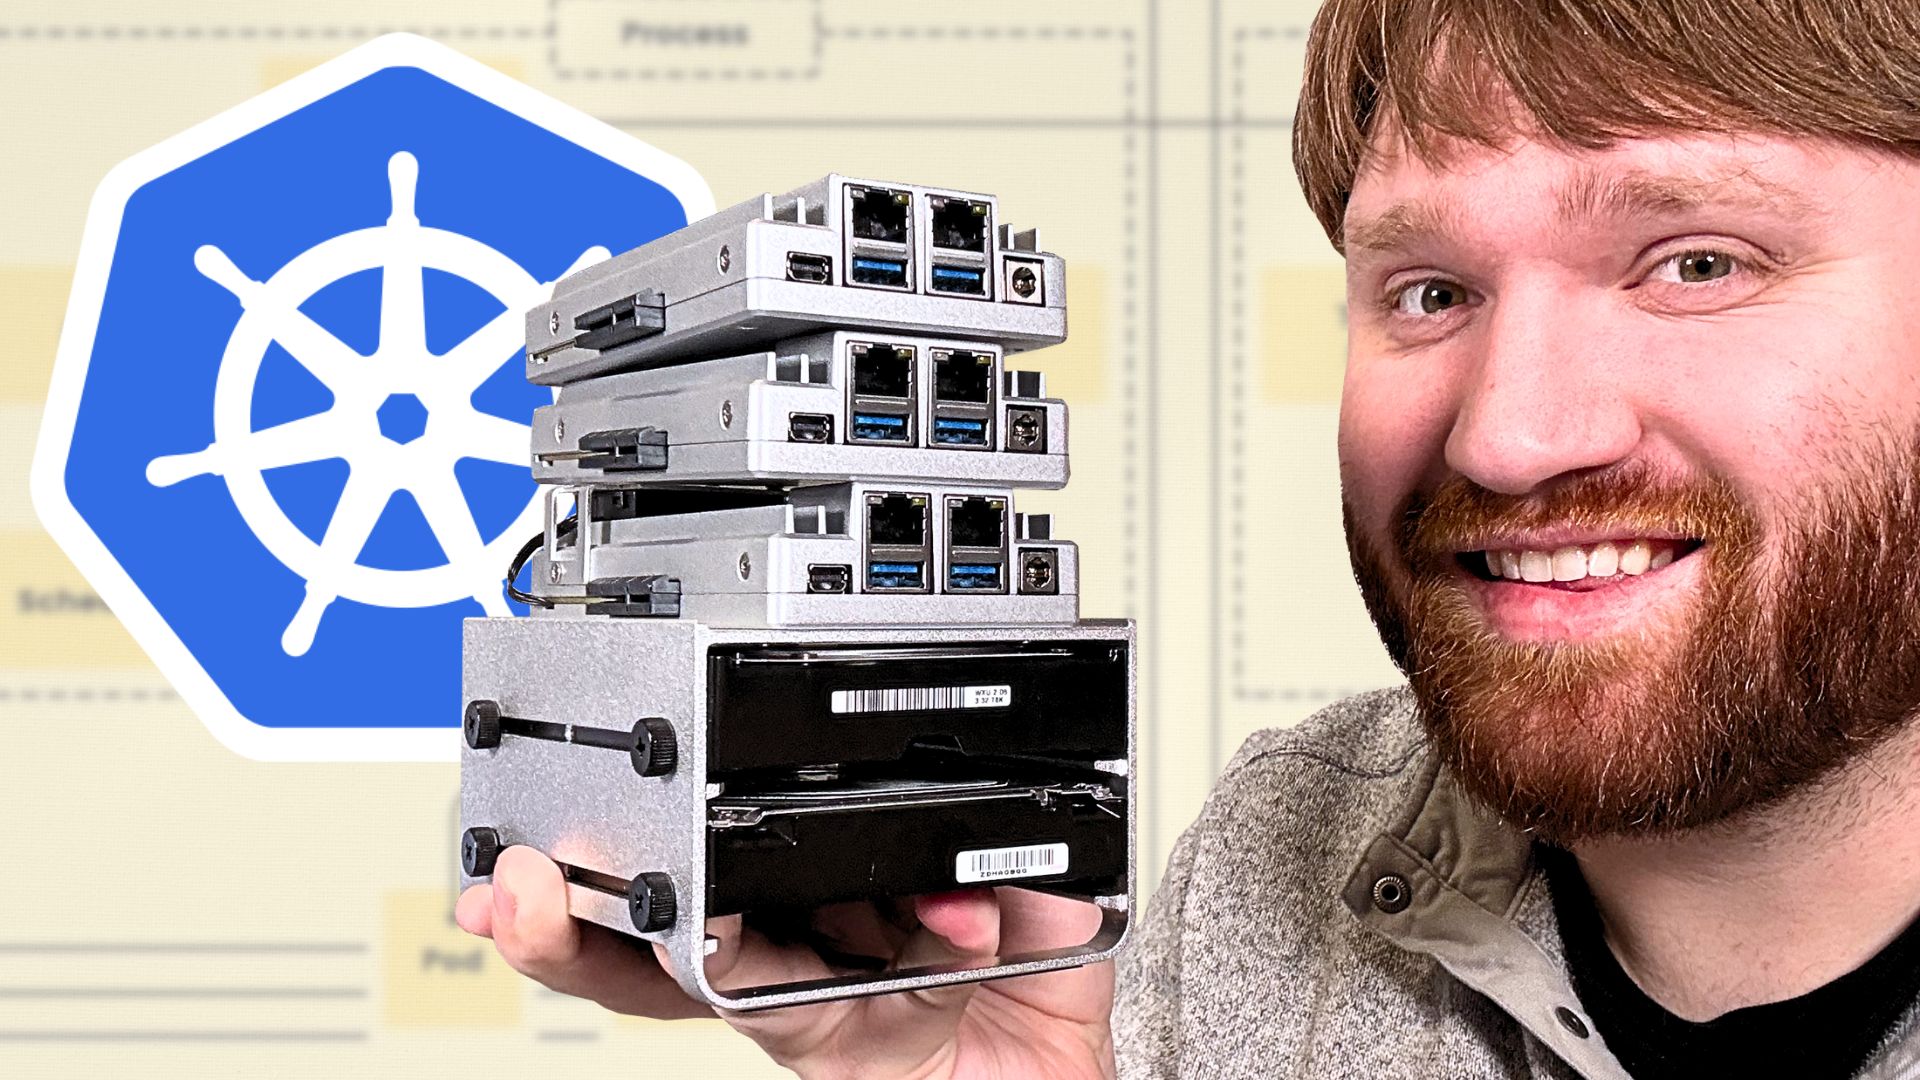
For this guide, I'm using three identical mini PCs. You could do this with virtual machines too, but physical hardware makes it more fun and more visual. Here's what you need on each machine:
- A Debian-based distro (Ubuntu Server 22.04 or 24.04 works great)
- At least 2 CPU cores, 2GB RAM, and 20GB storage
- Static IPs or DHCP reservations assigned
- SSH access from your main machine
Go ahead and set hostnames on each machine before we start. It makes everything way easier to follow.
# On each node respectively
sudo hostnamectl set-hostname k8s-server
sudo hostnamectl set-hostname k8s-agent1
sudo hostnamectl set-hostname k8s-agent2
Also make sure ports 6443, 8472 (Flannel VXLAN), and 10250 (kubelet) are open between the nodes. If you're running ufw or any other firewall, double check that.
Setting Up the Server Node
SSH into your first mini PC. This is going to be our server node, the control plane. The install process is literally one command.
ssh user@k8s-server

# Install k3s as a server
curl -sfL https://get.k3s.io | sh -
And just like that, k3s is installed and running. No configuration files to edit, no dependencies to install. It just works.
Now, by default the k3s config file is only readable by root, which means every kubectl command would need sudo in front of it. Let's fix that now so we don't have to deal with it going forward.
# Copy the kubeconfig to your user's home directory
mkdir -p ~/.kube
sudo cp /etc/rancher/k3s/k3s.yaml ~/.kube/config
sudo chown $(id -u):$(id -g) ~/.kube/config

# Tell kubectl where to find it (add to .bashrc so it persists)
echo 'export KUBECONFIG=~/.kube/config' >> ~/.bashrc
source ~/.bashrc
Good to go. Let's verify everything is working.
# Check that k3s is running
sudo systemctl status k3s

# Check the node (no sudo needed now)
kubectl get nodes
Beautiful. We can see our server node is up and it's in a "Ready" state. Now we need two things before we can add our agent nodes: the server's IP address and the node token.
# Get the server IP (you probably already know this)
hostname -I

# Get the node token
sudo cat /var/lib/rancher/k3s/server/node-token
Go ahead and copy that token. We're going to need it for both of our agent nodes. Do note that this token is essentially a password for joining the cluster, so treat it like one.
Adding the Agent Nodes
Now let's add our two agent nodes. SSH into the second mini PC and run a very similar command, but this time we're telling it to join our existing cluster instead of starting a new one.
ssh user@k8s-agent1

# Install k3s as an agent (replace with your actual server IP and token)
curl -sfL https://get.k3s.io | K3S_URL=https://192.168.1.100:6443 K3S_TOKEN=your-token-here sh -
Same thing on the third mini PC.
ssh user@k8s-agent2

# Same command, same server URL and token
curl -sfL https://get.k3s.io | K3S_URL=https://192.168.1.100:6443 K3S_TOKEN=your-token-here sh -
Now go back to your server node and check if all three nodes are in the cluster.
kubectl get nodes
Would you look at that. Three nodes, all showing "Ready." We have a full Kubernetes cluster running on three physical machines and it took us maybe five minutes.
If you want to manage the cluster from your daily driver machine instead of SSHing into the server every time, you can grab the kubeconfig.
# On the server node, grab the kubeconfig
sudo cat /etc/rancher/k3s/k3s.yaml

# On your main machine, save it
mkdir -p ~/.kube
# Paste the contents into ~/.kube/config
# IMPORTANT: Change the server address from 127.0.0.1 to your server's actual IP

# Verify it works
kubectl get nodes
Deploying Nginx Across the Cluster
Alright, we have a cluster. Now let's actually put it to work. We're going to deploy Nginx across all three nodes, but here's the fun part. Each pod is going to serve a page that shows its own hostname. So when we hit the service, we can literally see which pod and which physical machine is answering our request.
In Kubernetes you define what you want to run using YAML files. Create a file called nginx-deployment.yaml and drop in this config.
# nginx-deployment.yaml
apiVersion: apps/v1
kind: Deployment
metadata:
name: web-demo
spec:
replicas: 6
selector:
matchLabels:
app: web-demo
template:
metadata:
labels:
app: web-demo
spec:
containers:
- name: nginx
image: nginx:alpine
ports:
- containerPort: 80
command: ["/bin/sh", "-c"]
args:
- |
echo "Pod: $(hostname)
Served from this pod in the k3s cluster
" > /usr/share/nginx/html/index.html
nginx -g 'daemon off;'
---
apiVersion: v1
kind: Service
metadata:
name: web-demo
spec:
type: NodePort
selector:
app: web-demo
ports:
- port: 80
targetPort: 80
nodePort: 30080
Let me walk through what this is doing. Up top we have a Deployment. We're telling Kubernetes we want 6 replicas of an Nginx container. Six copies, spread across our three machines, so roughly two per node. Each pod runs a little startup command that writes its own hostname into the Nginx index page. That way every pod serves a slightly different page.
Down below we have a Service. This is how we actually access the pods from outside the cluster. We're using a NodePort service on port 30080, which means we can hit any of our three node IPs on that port and Kubernetes will route us to one of the pods.
Go ahead and apply it.
kubectl apply -f nginx-deployment.yaml
And just like that, Kubernetes is pulling the Nginx image and spinning up six pods across our cluster. Let's check on them.
kubectl get pods -o wide
There we go. Six pods, and look at the NODE column. You can see them spread across k8s-server, k8s-agent1, and k8s-agent2. Kubernetes decided where to put each one based on available resources. We didn't have to think about it at all.
We can also check our service and get an overview of everything running in the cluster.
# See our service and what port it's exposed on
kubectl get svc

# Or see everything at once
kubectl get all
If you ever need to dig into what's going on with a specific pod, you can describe it to get all the details, or check its logs.
# Get detailed info about a specific pod
kubectl describe pod

# View logs from a running pod
kubectl logs
Pretty handy for debugging if something isn't working.
Now let's actually hit it. You can go to any of your three node IPs on port 30080. If you want to clearly see the load balancing in action, use curl in a loop since browsers tend to cache the response.
for i in $(seq 1 10); do curl -s http://192.168.1.100:30080; echo ""; done
Every request comes back with a different pod name. Kubernetes is load balancing across all six pods automatically. You can hit any node IP and it works because the service routes traffic to any healthy pod in the cluster regardless of which node you're actually talking to. Pretty cool.
Scaling and Self-Healing
This is where Kubernetes starts to flex a little. Let's say I want to scale this up because suddenly my little web app is getting a ton of traffic. I don't have to touch any config files.
# Scale up to 10 replicas
kubectl scale deployment web-demo --replicas=10

# Watch them spread out
kubectl get pods -o wide --watch
Just like that, Kubernetes spins up four more pods and distributes them across the cluster. And you can scale back down just as easily.
kubectl scale deployment web-demo --replicas=6
Now here's another thing that's really cool. What happens if a pod just dies? Like the process crashes or something goes wrong. Let me manually delete one and watch what happens.
# Delete a specific pod
kubectl delete pod

# Immediately watch Kubernetes recreate it
kubectl get pods -o wide --watch
It's already gone and Kubernetes immediately spun up a replacement. We didn't have to do anything. That's the self-healing part of container orchestration. In a normal Docker Compose setup, sure, you can set restart policies, but Kubernetes takes it further because it can put that replacement on a completely different machine if it needs to.
We can also check resource usage now that we have pods running.
kubectl top nodes
kubectl top pods
You can see the load spread across all three nodes. Super nice.
The Unplug Test
Here's the fun part. Here's the reason Kubernetes exists. We're going to physically unplug one of the agent nodes and watch what happens.
First, let's watch our pods in real time.
kubectl get pods -o wide --watch
Right now the pods are distributed across all three nodes. Go ahead and pull the power on one of your agent nodes.
Kubernetes doesn't panic immediately when a node goes offline because it could just be a temporary network blip. By default, k3s gives it about 5 minutes before it considers the node truly gone. But once that timeout hits, Kubernetes detects that the node is gone and automatically reschedules those pods onto the remaining nodes. The service is still running, still accessible. That's the whole point. That's high availability.
# Show nodes (one will be NotReady)
kubectl get nodes

# Show pods have been rescheduled
kubectl get pods -o wide
Now here's something important to know when you plug the node back in. Once the mini PC boots up, the k3s agent starts automatically and reconnects to the cluster. Give it about 30 seconds to a minute after it's done booting and the node will flip back to "Ready."
kubectl get nodes --watch
But here's the thing. Kubernetes does NOT automatically move pods back to a node just because it came back online. The pods that got rescheduled to the other two machines are going to stay there. Kubernetes only moves pods when it has a reason to, it doesn't shuffle things around just for the sake of balance.
So if you want to redistribute pods across all three nodes again, you can do a quick rolling restart.
# Trigger a rolling restart to redistribute pods
kubectl rollout restart deployment web-demo

# Watch them spread across all three nodes again
kubectl get pods -o wide --watch
And just like that, Kubernetes recreates the pods and spreads them back across all three machines. That's worth knowing because if you just plug a node back in and walk away, you might wonder why it's sitting there doing nothing.
Graceful Node Maintenance
Physically unplugging a machine is dramatic and fun, but in practice you'd do this gracefully. Kubernetes has a drain command that tells a node to move all its pods somewhere else before you take it offline. Like if you need to update the OS or do maintenance.
# Gracefully move all pods off a node
kubectl drain k8s-agent2 --ignore-daemonsets --delete-emptydir-data

# Node is now cordoned (won't accept new pods) and drained
kubectl get nodes
And when you're done with maintenance, you uncordon it and Kubernetes will start scheduling pods on it again.
kubectl uncordon k8s-agent2
Final Thoughts
So that was pretty cool, right? Seeing pods automatically move between physical machines when one goes down is genuinely impressive engineering. But let me bring it back to what I said at the beginning.
For most homelab use cases, this is solving a problem you don't have. If you're running Jellyfin for your family and it goes down for 5 minutes while you restart a container, nobody is going to sue you. Docker Compose on a single machine with good backups covers 95% of homelab needs.
But if you want to learn infrastructure skills that translate directly to a career, this is phenomenal practice. And if you're running services that genuinely need uptime, maybe for a business or maybe you have a lot of people depending on your setup, then k8s starts making more sense.
The real sweet spot for homelabbers is probably just knowing it exists, understanding the concepts, and having the ability to spin it up if you ever actually need it.
Cleaning Up
If you want to tear it all down, k3s makes that simple too.
# On the server node
/usr/local/bin/k3s-uninstall.sh

# On each agent node
/usr/local/bin/k3s-agent-uninstall.sh
With all that, I do hope you found this useful. I am genuinely curious, are you running Kubernetes in your homelab? And if so, why? Let me know in the comments.