

If you've been running Overseerr or Jellyseerr in your homelab, you probably noticed a little banner pop up recently letting you know a migration is available. That's because the teams behind both projects decided to merge them into a single application called Seer. One codebase, one image, works with both Plex and Jellyfin. Pretty nice.
In this guide we're going to go through how to migrate your existing Overseerr instance over to Seer, and then do a quick overview of the app itself in case you've never used it before.
What is Seer?
For those who are new to this, Seer (formerly Overseerr/Jellyseerr) is a media request management tool that sits on top of your Plex or Jellyfin server. It gives your users a clean, polished interface to discover and request movies and shows, and then it ties directly into Sonarr and Radarr to handle the actual downloading and organizing.

So instead of people texting you "hey can you add Breaking Bad," they just go to Seer, find it, and request it themselves. You get a notification, approve it, and Sonarr takes care of the rest. It's a must-have if you're running a media server for more than just yourself.
Migrating from Overseerr to Seer
The good news is the migration is pretty straightforward. Your existing database and configuration carry over automatically the first time you start Seer, so you're not losing anything. That said, before you do anything, go ahead and back up your appdata folder just in case.
Docker Compose (Recommended)
If you're using Docker Compose, which is what I'd recommend, the changes are minimal. Here's what the updated compose service looks like:
services:
  seerr:
    image: ghcr.io/seerr-team/seerr:latest
    init: true
    container_name: seerr
    environment:
      - LOG_LEVEL=debug
      - TZ=America/Los_Angeles
      - PORT=5055
    ports:
      - 5055:5055
    volumes:
      - /path/to/appdata/seerr:/app/config
    healthcheck:
      test: wget --no-verbose --tries=1 --spider http://localhost:5055/api/v1/status || exit 1
      start_period: 20s
      timeout: 3s
      interval: 15s
      retries: 3
    restart: unless-stopped
You can also find this in the TechHut homelab GitHub repo as part of the full media stack compose file, which includes Sonarr, Radarr, and everything else you'd need.
The key changes from the old Overseerr image are:
- The image is now
ghcr.io/seerr-team/seerr:latest - You need to add
init: truesince the container no longer provides its own init process - The container name and volume path should be updated from
overseerrtoseerr - The config directory inside the container is
/app/config
Do note that the container now runs as a non-root user with UID 1000. So before you spin it up, you'll want to make sure your appdata folder has the right permissions. You can fix that with a quick one-liner:
docker run --rm -v /path/to/appdata/seerr:/data alpine chown -R 1000:1000 /data
Once that's done, bring the container up and the migration will run automatically on first start. Head to http://[your-ip]:5055 and you should be right back where you left off.
Unraid
If you're on Unraid, the process is a little different since you're working through the UI rather than editing a compose file directly. Here's the quick version:
First, stop your existing Overseerr container from the Docker tab. Don't remove it yet.
Open the Unraid terminal and copy your existing appdata over to a new seerr directory:
cp -a /mnt/user/appdata/overseerr /mnt/user/appdata/seerr
Then set the permissions so the new container can access it:
chown -R 1000:1000 /mnt/user/appdata/seerr
From there, add the Seerr container from the Community Apps store, point the config path to /mnt/user/appdata/seerr, and start it up. The migration will handle the rest automatically. Once you've confirmed everything is working, you can go ahead and remove the old Overseerr container and clean up that appdata folder.
Other Installation Methods
The official migration guide covers a few other setups including TrueNAS, Kubernetes, and building from source. You can find all of that over at docs.seerr.dev/migration-guide.
A Quick Look at Seer
If you've never used this before, let me show you real quick why it's worth running.
Connecting Sonarr and Radarr
Once you're in, head to Settings and then Services. This is where you connect Seer to your Sonarr and Radarr instances. You can add multiple servers too, so if you have a separate Radarr for 4K content that's totally doable. Just set up each one with the right quality profile and you're good to go.
Managing Users
Under the Users section you can import your Plex users directly, which is super convenient. Everyone who has access to your Plex server can be brought in with a couple of clicks. You can also create local users if you're on Jellyfin or just want to manage things manually.
Requests and Approvals
Any time someone requests media it shows up in the Requests queue. You can review and approve from there, and once approved Sonarr or Radarr picks it up automatically. There's also a block list if there's specific content you don't want showing up for your users.
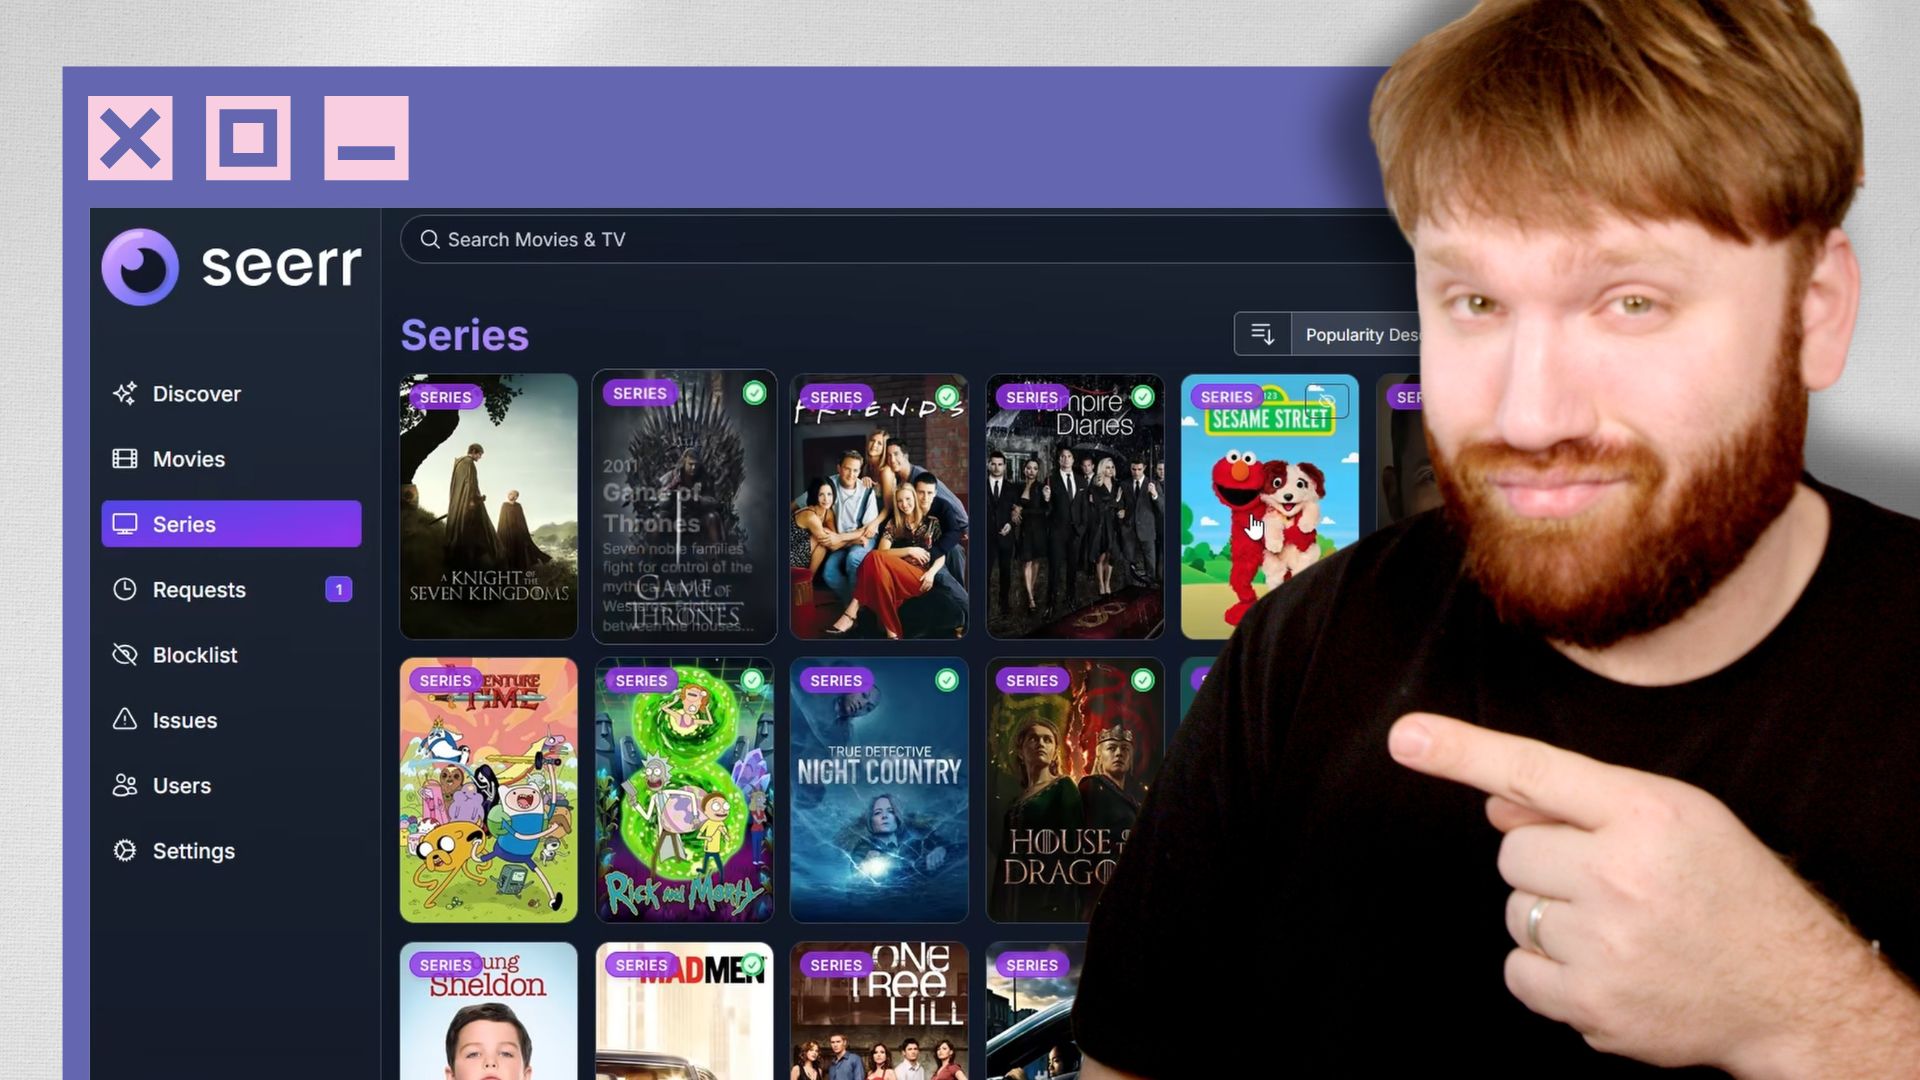
Discover and Filtering
This is honestly one of the best parts of the app. The Discover section lets your users browse trending movies and shows, but the real power is in the filters. You can filter by streaming service, genre, release date, studio, rating, and more. So if someone only wants HBO shows with a rating above 7, they can filter down to exactly that and see only the good stuff. It's a really clean way to find new content.
Wrapping Up
The migration is pretty painless and Seer is a solid upgrade, especially now that it's a single unified project for both Plex and Jellyfin users. If you've been sitting on an old Overseerr install for a while, now's a good time to make the move.
If you want to check out the full Docker Compose stack that includes Seer along with Sonarr, Radarr, and the rest of the media server setup, do check out the TechHut homelab repo on GitHub. With all that, I do hope you have an absolutely beautiful day.